This is my first blog post and I am not exactly sure what I am doing....so be patient with me.
I wanted to start a blog to share my sewing and embroidery ideas.
Today I worked on Snap Bags that I first learned to make from Snap Bags

just fabric and I decided to try making them with vinyl 9" by 12" sheets that I purchased from Mikri World Supplies marine vinyl.
SUPPLIES FOR ONE BAG:
Embroidery Design for bag. Use 4 x 4 hoop with tearaway stabilizer
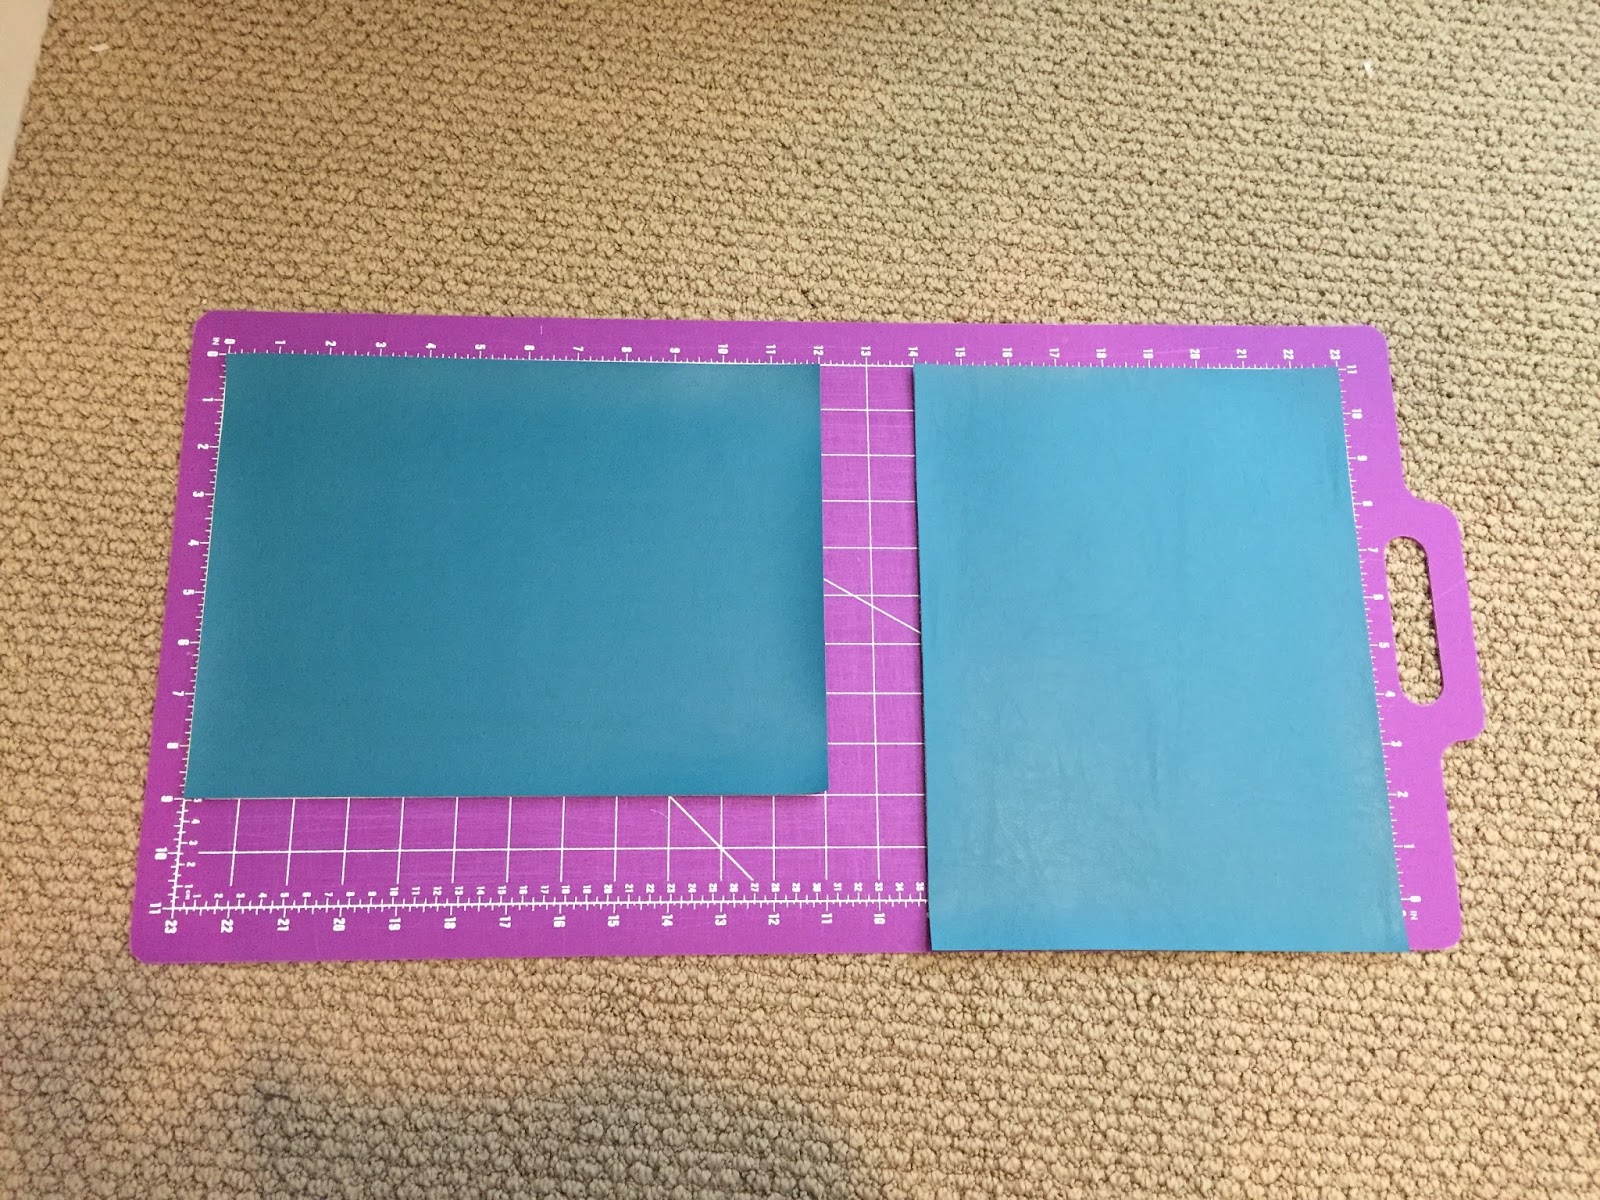
One 9"x12" Marine vinyl
One piece of fabric 9"x17" for lining
One piece of fusible craft interfacing 9"x12"
One set of Kam snaps (plus pliers to attach)
15" inches of 3/4" metal measuring tape per bag
(Purchase inexpensive metal measuring tape from Dollar Store) Must be metal.
Painter's tape


Here are some that I made with just initials.


Add painter's tape to the stabilizer - stitcky side out. This will hold your vinyl to the hoop. Important that the tape is placed out of the stitching area.
Mark the BACK of the vinyl with a line 3 1/2 " from end and 4 1/2" down center. You are marking the back because that is how you will match it to stabilizer. You can't pin vinyl....so this is the easiest way to line it up for stitching.

Match lines on back of vinyl to lines on stabilizer and smooth out vinyl
I put an extra piece of painter's tape on top. You are ready to bring it to the embroidery machine and stitch your design.
 Once your design is stitched, you will then take your lining fabric and fuse the interfacing to the wrong side of fabric.
 You want to fuse the interfacing in the middle leaving 2 1/2 inches on either end.
 Take vinyl and slip it on top of interfacing making sure to fold the fabric over the vinyl.
Pin in place and top stitch 1/8 inch on either side of folds to form casing.
With awl....make a hole on the seam line in center (4 1/2" from side)
Apply Kam snap on either end.


Take metal tape measure....with scissors cut 2 pieces 7 1/2" long for each bag.

MAKE SURE TO LOCK TAPE MEASURE FIRST OTHERWISE ONCE YOU CUT METAL TAPE IT WILL RETRACT INTO THE CASE AND YOU WON'T BE ABLE TO GET IT OUT.
 BESIDES LOCKING TAPE MEASURE, AFTER CUTTING ----TAPE THE END WITH A BIG PIECE OF TAPE....JUST IN CASE THE LOCK ACCIDENTALLY GETS MOVED
Round the ends of the metal tape and use a little painters tape to smooth any rough edges.


Insert metal tape into casing, plain side facing front. Make sure that metal tape is in the center of casing because you will be sewing the sides and if you hit the tape with your needle it will break.
Fold in half with lining fabric on outside. Take to sewing machine and sew a 1/4" seam on each side. Zigzag seams to hide rough edges.


Clip all threads. You are now ready to turn right side out.
The original snap bag did not require a Kam snap...but because I used vinyl and its heavier than fabric, you get a better closure with a Kam snap.
Thank you Yvonne for showing me how to make this bag and Mikri World Supplies for having such a great vinyl.
I hope to bring more designs and ideas in the future.
5 comments:
Nice! Keep up the nice work.
Yvonne
Love the measuring tape idea
Love the measuring tape idea
Thanks for sharing, I will even try these.
Rose
I bought a 3/4" width metal tape measure from the Dollar Tree and it will NOT work with this project -- seem to be wimpy. So I guess I need to invest in a 1" name brand metal tape measure -- they seem to be stiffer.
Post a Comment