Thursday, April 6, 2017

MAKING THE QUILT WITH IN THE HOOP QUILT BLOCKS - Part Two

In my previous blog post, Part One of Making the Quilt with in the hoop quilt blocks, I showed how I made each block.  This post, I will show how I sew them together


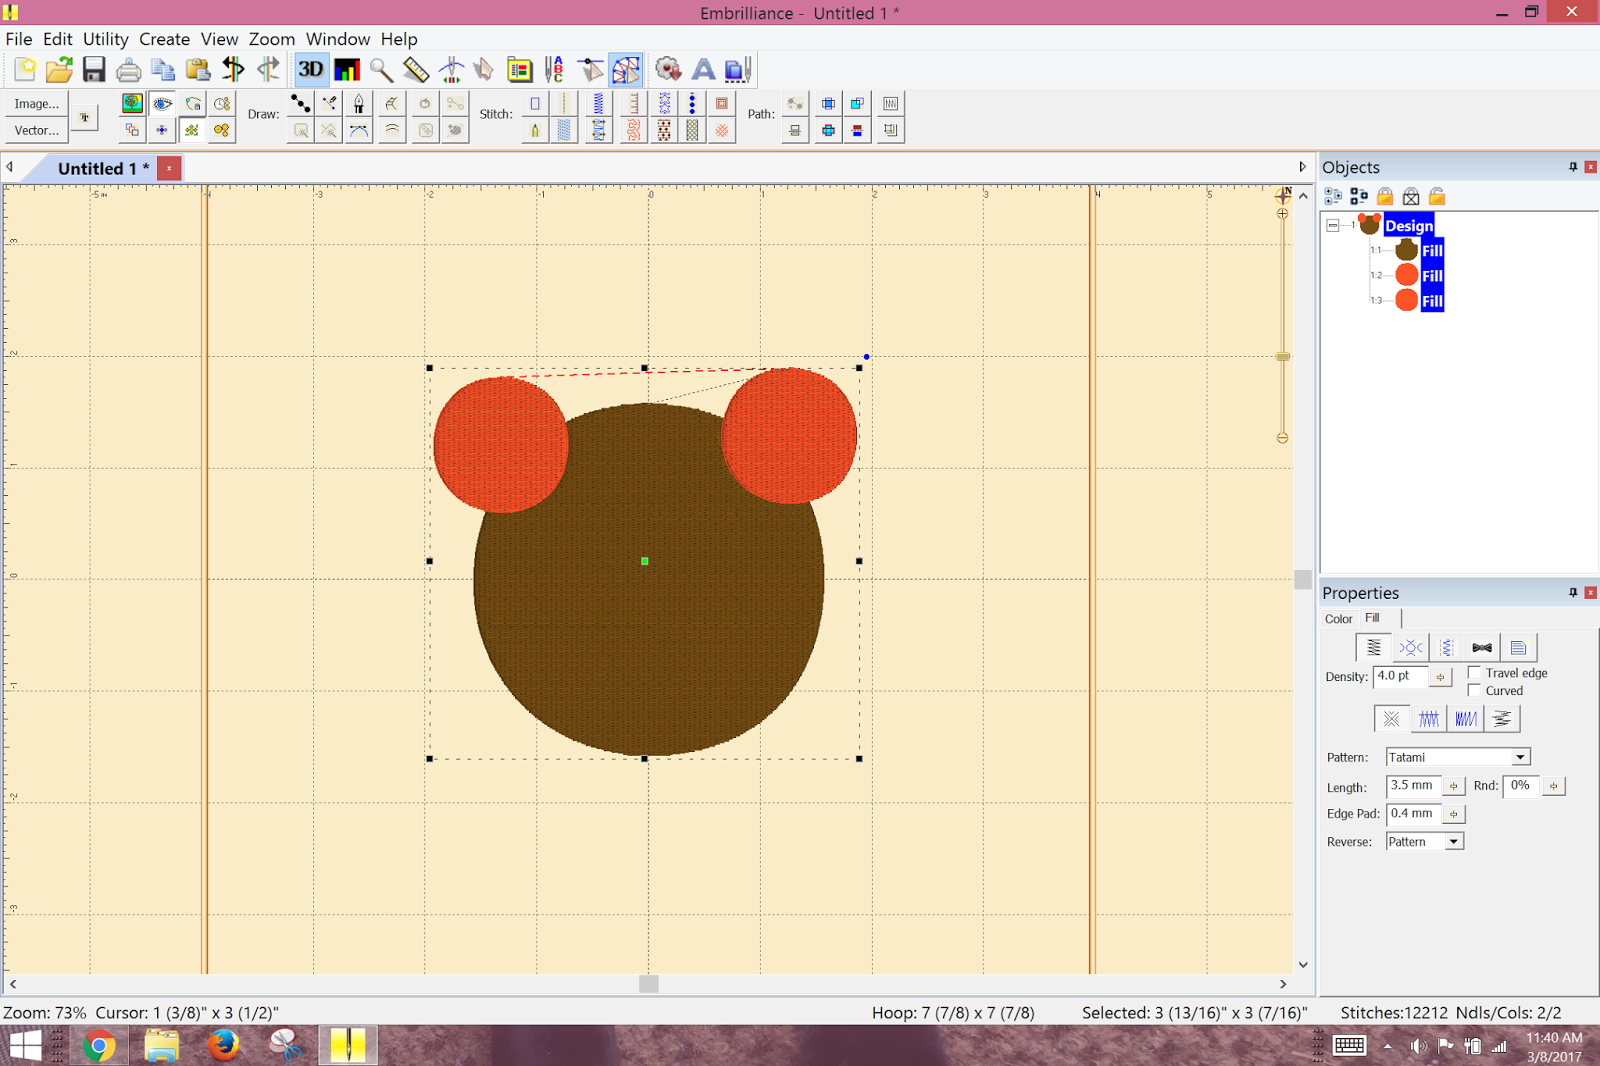
The blocks are the ones I created using the method described in my blog post CREATING QUILT BLOCK USING CONTOUR FILL - STITCH ARTIST 2 or 3. In that blog post I described how I created the contour design.  I created a Sea Horse, a Sea Turtle, a Fish and a Shell.  For the Shell and the Sea Turtle, I added more detail than just the contour fill.


I use Stitch Artist by Embrilliance for digitizing embroidery. Its one of the most user friendly programs and there are many many Stitch Artist Videos to help you get started.  The online PDF manual is full of great instruction.


Once the blocks are embroidered they look like this:


We need to trim away the excess top fabric and excess polymesh ONLY!  We will be cutting them to fit the 9" x 9" piece of batting that is under the top fabric.  To cut, place the block on cutting mat FACE DOWN:


Now, fold back the backing fabric.  With ruler and rotary blade cut polymesh and top fabric along the batting edge:


Make sure not to cut the backing fabric or the batting


When you cut all 4 sides, turn over and your block will look like this:


I iron my blocks.  I received an early birthday present last month of a LauraStar Iron, which is the greatest iron EVER.  It's a bit pricey, but I got a deal from my Brother Dealer because I purchased a machine from them.  


After ironing, I pin the edges and with my sewing machine I stitch along all the edges of the top fabric very very close to the edges....just make sure they are secure and the top fabric doesn't shift when assembling the quilt.

To assemble the big blocks with the 4 smaller blocks, I place one block face down and place the other block face up:


I pin along the right edge and sew along the top fabric edge.


I have a Pfaff sewing machine which has a built in walking foot.  A walking foot is your best friend when machine quilting.  You are able to feed the fabric evenly.

Other sewing machine have a walking foot that can be attached.  I highly recommend this foot for quilting.  


Once sewn, take to your iron and press the seam open.  Then carefully turn under each side of the seam as shown:


I pin just to hold the seam and take it back to my sewing machine to sew it down.  I used a decorative stitch, however you can use a straight stitch as well:


Sew down both sides and then press:


Here is was the back side will look like:


Each big block is made up of 4 smaller blocks.  You would use the same method to assemble the big block.  Place one face down and one face up, pin in place and sew along top fabric edge:


Open seam and press.  Fold under and top stitch.  


Here is the completed big block:


To attached the big blocks together, place one facing down, the other facing up, pin in place, and stitch along top fabric edge:


Again press seam open, fold under and topstitch.  Here are the 2 big blocks stitch together:


There will be 36 big blocks in all for this king size quilt.  Its going to take awhile.  

Happy sewing and embroidering!

Thursday, March 23, 2017

MAKING THE QUILT WITH IN THE HOOP QUILT BLOCKS - Part One

Time to start sewing together my quilt.  The blocks are the ones I created using the method described in my previous blog post CREATING QUILT BLOCK USING CONTOUR FILL - STITCH ARTIST 2 or 3. In that blog post I described how I created the contour design.  I have created a Sea Horse, a Sea Turtle, a Fish and a Shell.


I use Stitch Artist by Embrilliance for digitizing embroidery. Its one of the most user friendly programs and there are many many Stitch Artist Videos to help you get started.  The online PDF manual is full of great instruction.  I also used Essentials by Embrilliance to create my applique cut files.  Although you can do this is Stitch Artist, I like saving my cut files with my stitch file.  


I used my Brother Scan N Cut to cut my applique pieces for the design.  Instructions on how to save these applique cut file using Essentials is shown in this video.  I back my applique fabric with Heat N Bond Lite before I cut them with my Scan N Cut.  When I saved my cut file, I inflated them 3 mm, as I am not using a satin stitch finish but a bean stitch to finish.  It's the look that I wanted to achieve on this quilt.


All the quilt blocks will be made IN THE HOOP using the design I created in Stitch Artist 2 or 3, HOWEVER, THE JOINING OF THE BLOCKS IS DONE ON A SEWING MACHINE AND NOT IN THE HOOP.

I am using a 8" x 8" hoop on my Brother Embroidery Machine.  I am using SheerStitch No Show "PolyMesh" Cut Away Stabilizer (1.5), which I purchased through ALLSTITCH.COM  The roll is 15" wide and I use a 15" by 15" piece for each block.  I am using Warm and Natural Cotton batting from JoAnn Fabrics.  I cut my batting in 9" by 9" squares.  

I am using layer cake fabric pieces from Hoffman Fabrics' collection Sandpiper Bali Crackers
which are 10" by 10" square for the background fabric of the top of my block.  I am using 12" by 12" square fabric pieces for the backing fabric.  

I hoop the stabilizer and with the template, I mark the horizontal and vertical centers on the stabilizer with a purple disappearing marker.  Keep in mind to do this right before you are ready to embroider....otherwise the lines will disappear if you wait an hour or so.  I mark my batting so that I can place it on the center of the hoop:


At this point you could add a tackdown stitch for your batting.  I decided not to do this.  I take my top background fabric which is 10" by 10" and lay it on top of the batting.  I pin generously.  


Time to put the hoop in your embroidery machine and start sewing.  

The first thing to stitch is the applique placement stitch.  As I showed in my last blog post, LIGHTING UP YOUR APPLIQUE, using a light box will help you place your applique piece perfectly.  I didn't take close up pictures of the turtle block, so I am showing you the shell block close up.


I get perfect placement of my applique piece.  


Embroider your block until you get to the last step.  This is where you will be adding your backing fabric.  Remove hoop from the machine.  I take my 12" by 12" block, fold it in quarters and lightly press.  I then spray LIGHTLY the back of my hoop with an easy tack spray adhesive.  I lay my backing piece on, matching the creases with the purple center lines I had drawn on my stabilizer:


I pin generously from the front making sure my  backing is smooth.  I return the hoop to the machine and embroider my last step which is a bean stitch on the outline of the applique and a square on the outline of the block:


I remove the block from the hoop.  I trim my backing fabric to 11" by 11" square.  I trim my top background fabric and stabilizer to the size of the batting which is 9" by 9" square.


With my sewing machine I sewed down the edges of the block.  Because this is a 9" by 9" square I couldn't do that in my 8" by 8" hoop.  

To attach the blocks together you place one completed block face down.  You place another block face up and stitch with a one inch seam along the side as shown below with the red line:


I will continue showing how to finish the seams in my next blog.

Happy Embroidering!   To be continue.......

Friday, March 17, 2017

LIGHTING UP YOUR APPLIQUE

I love to do applique using my Embroidery machine, but I especially like doing applique when I can cut the objects out with my Brother Scan N Cut.  You get clean cuts....it's just great.

HOWEVER..... trying to place those pieces on to your hoop accurately so that the tackdown stitches catches all of the edges and ultimately be covered by the satin stitches or bean stitch (If that is what you are using) for your finished stitching THIS CAN BE TRICKY.

BUT  - I found a solution.  I was cleaning out my sewing room closet for an upcoming garage sale and I found a light box that I bought ages and ages ago.  Mine is by Artograph called a Light Tracer. It has a screen that is 10 x 12 inches.  I bought it a long time ago, but I am sure I bought it at Michael's or Hobby Lobby with a 40% off coupon.

My idea was what if I could place my hoop on to the light box, turn the light on and then be able to see where to place my applique piece ACCURATELY!  Because the light would shine through....my fingers were crossed.

And you know what?  IT WORKED.  It work even on dark fabric.  I was able to place my applique piece on my hoop making sure the tackdown stitches would be caught on all edges.  It also insured that my bean stitch would catch as well.

In the example I am showing below I did not use a satin stitch and I inflated my cut file 3mm.  Its the look that I wanted to achieve on this quilt.

For a satin stitch finish I usually inflate my cut files about 1.2 to 1.5mm.....more often 1.2mm

But this method would work for placing applique pieces when using a satin stitch as well.


When I placed that shell piece over the applique position stitches I could see through the green fabric and was able to accurately place it on the hoop.

As you can see, I was able to stitch the tackdown stitches and catch all of the material.
This isn't rocket science, but I have 164 more of those blocks to do and this is going to be a lifesaver in placing my applique pieces.

Just wanted to share my light bulb, or should I say Light Tracer moment.

Happy Embroidering!


Wednesday, March 8, 2017

Using the Flatten Tool in Stitch Artist Level 3

Even if you have been using Stitch Artist for awhile, its always good to go back to the videos that Brian created on the Controls for Stitch Artist Level 3.  I spent the morning doing just that and wanted to write a post so that I wouldn't forget this technique.

I use Stitch Artist by Embrilliance for digitizing embroidery. Its one of the most user friendly programs and there are many many Stitch Artist Videos to help you get started.  The online PDF manual is full of great instruction.

When I started using Stitch Artist, I just wanted to make something. So I decided to make a basic bear using the circles shapes for the object library:


The problem is (as you can see from the picture of the object pane) there is all these fill stitches under the ears.....How to eliminate the without redrawing my objects.  That's where the tool "Flatten the Object, remove the overlaps" button comes in handy.


I selected both ears and the head in the object pane and then clicked the Flatten the Object, removing the overlaps button.  The result is 3 objects....the head object has cutouts where the ears overlapped. 


You will noticed that the fill is gone on the head object.  Just click the fill button on the stitch property menu and the fill will reappear.  Now you can go back and adjust your stitch, inclination, and compensation properties so that there is no gaps in between your fills. You don't want all your fills to have the same inclination.

This tool also comes in handy if you have overlapping vector shapes and you want to remove the stitches under the overlapping parts.  Select all and click Flatten the Objects, removing the overlaps.


Again, just click the fill button on the stitch property menu for the fill to reappear on the other objects.  

This such a cool feature.  Happy Digitizing!